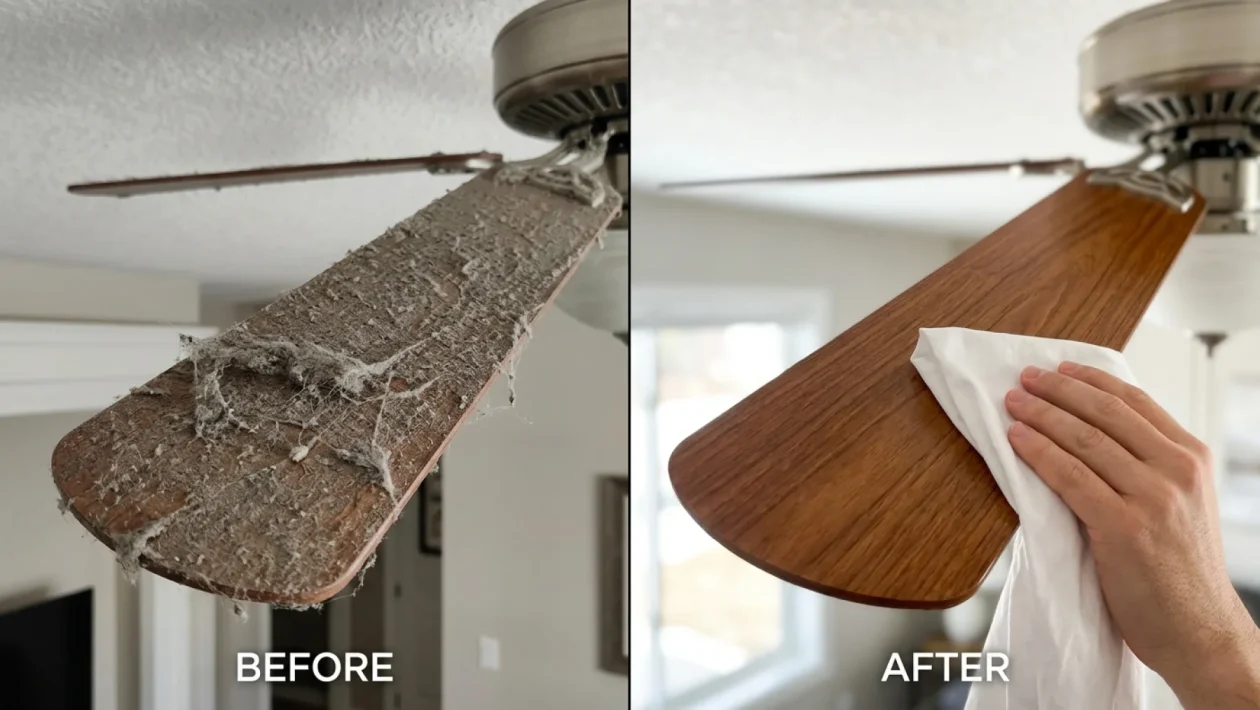
Look up at your ceiling right now. That fan working hard to keep your living room cool is likely hiding a dirty, grey secret on top of its blades. Every time you flip the switch, you’re launching a microscopic dust bomb directly into the air you breathe.
You probably think fixing this requires dragging out the stepladder, finding your toolbox, and spending an hour scrubbing plastic grills in the bathtub. Put the tools down.
Today, I’m going to show you how to strip away months of heavy grime in exactly five minutes. You are going to get massive results without dismantling a single piece of hardware.
Fan cleaning masterclass foundation
We rely heavily on our Vornado air circulators and overhead fixtures to survive the sweltering July 2026 heat. But a dirty motor and caked blades actively work against you.
According to a recent 2025 indoor air quality study, a standard dusty ceiling fan can reduce its airflow efficiency by up to 30 percent. That means you are sweating more while actively paying higher electricity bills.
“Most homeowners ignore their ceiling and box fans until the dust bunnies literally fall off, but a simple weekly maintenance wipe prevents motor burnout and drastically improves indoor air quality,” says Mark Tremblay, a certified HVAC specialist based in Toronto.
Ignoring this chore isn’t just gross; it is costing you hard-earned money. Let’s fix it the smart way.
How to erase summer dust in minutes
The trick to lightning-fast fan cleaning is trapping the dirt before it hits your floors or furniture. Here is my proven, foolproof workflow for getting the job done fast.
- The Pillowcase Trap: Slide an old, slightly damp pillowcase completely over a ceiling fan blade. Press your hands on both sides and pull outward to trap all the dust safely inside the fabric.
- The Microfiber Swipe: For pedestal or box fans, grab a high-quality microfiber duster wand from Canadian Tire that easily slips between the tight grill grates.
- The Air Purge: Use a standard can of compressed air to blast out the central motor housing where hidden dust chokes the internal components.
- The Repellent Finish: Lightly wipe the clean blades or outer plastic grill with a standard fabric softener sheet to actively repel future dust buildup.
Empty the pillowcase outside, toss it in the wash, and you are completely done.
Without touching a screwdriver
The traditional deep-clean method involves removing tiny screws, losing essential washers, and wrestling with brittle plastic clips. It is a massive, unnecessary headache.
By keeping your tools firmly in the drawer, you save your sanity and rescue your weekend. Check out why the modern approach wins every single time.
| The No-Dismantle Method | The Full Teardown |
|---|---|
| Takes under 5 minutes per unit | Takes 30+ minutes of frustrating labor |
| Zero risk of losing tiny screws | High risk of snapping brittle plastic tabs |
| Traps dust immediately in fabric | Spreads airborne dust during disassembly |
Frequently Asked Questions
How often should I clean my fans during the summer?
In peak summer usage, you should aim for a quick wipe down every two weeks. If you have multiple pets shedding in the house, you definitely need to bump that up to a weekly routine.
Can I use water or liquid sprays on the fan grills?
You should only use a slightly damp cloth. Never spray water or liquid cleaners directly onto a plugged-in or fully assembled fan, as this can easily cause severe electrical shorts.
🤝 Good luck getting those blades spinning smoothly again! It really doesn’t take much effort to keep your home feeling incredibly fresh and cool.
💡 Remember, a clean unit is a quiet, highly efficient unit. Your wallet, your internal motor, and your allergies will absolutely thank you.
📱 If you found this quick guide helpful, share your thoughts or send this article to a buddy who is currently suffering under a rattling, dusty ceiling fixture.
👇 Drop a comment below if you have your own secret weapon for tackling stubborn household dust!